Working with Warehousing
Add a New Warehousing
Warehouse in CreataCRM
With CreataCRM, we link to other Accountancy package like Reckon, MYOB and Xero. Because this, you the user will be able to Sync your existing products from your accountancy system, and then start adding existing accountancy systems.
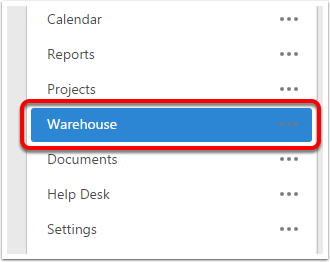
Open the warehouse button on the right navigation panel
You may need to click on the top left hambuger button to slide out the menu.
Creating a New Warehouse
Add a New Warehouse into CreataCRM - Then Type in the name of the Warehouse
If you would like Negitive stock - Please Leave Prevent Over Shipment untick

Adding products to warehouse
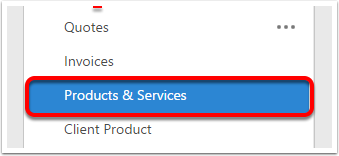
1 Goto the Product & Service in the Navigation button
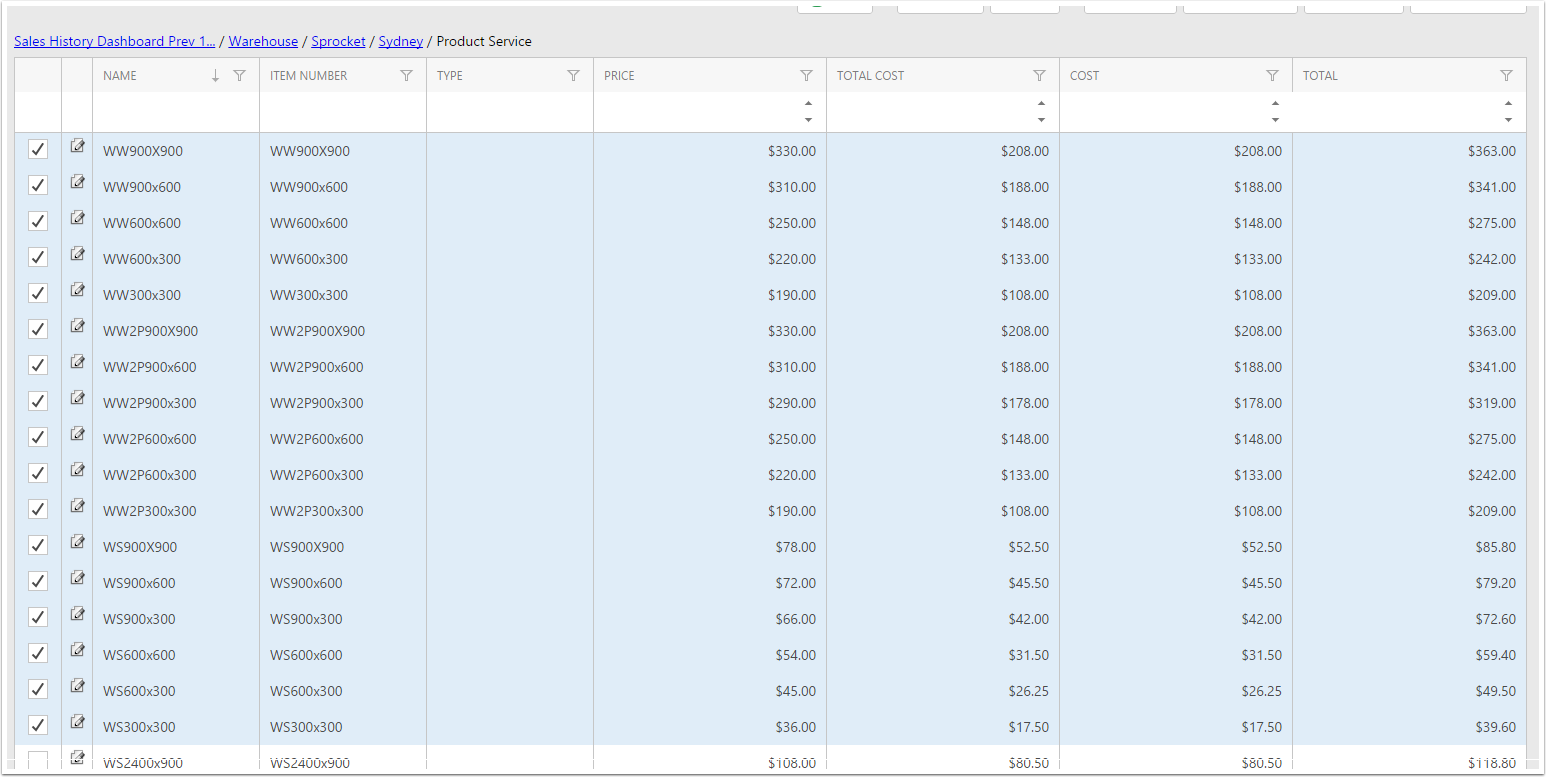
Select the products you would like to manage inside of the warehouse
You can either and tick on product and a time or multiple products,
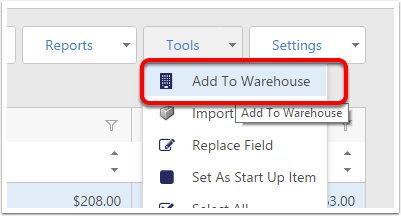
Add the selected items to the warehouse
Click on Tools Add to Warehouse
Add the Items to the Warehouse
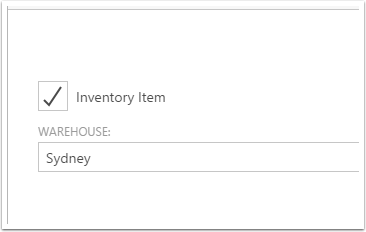
Choose the Warehouse you would like to assign the products to and tick Inventory items
Products are now can manage in warehouse
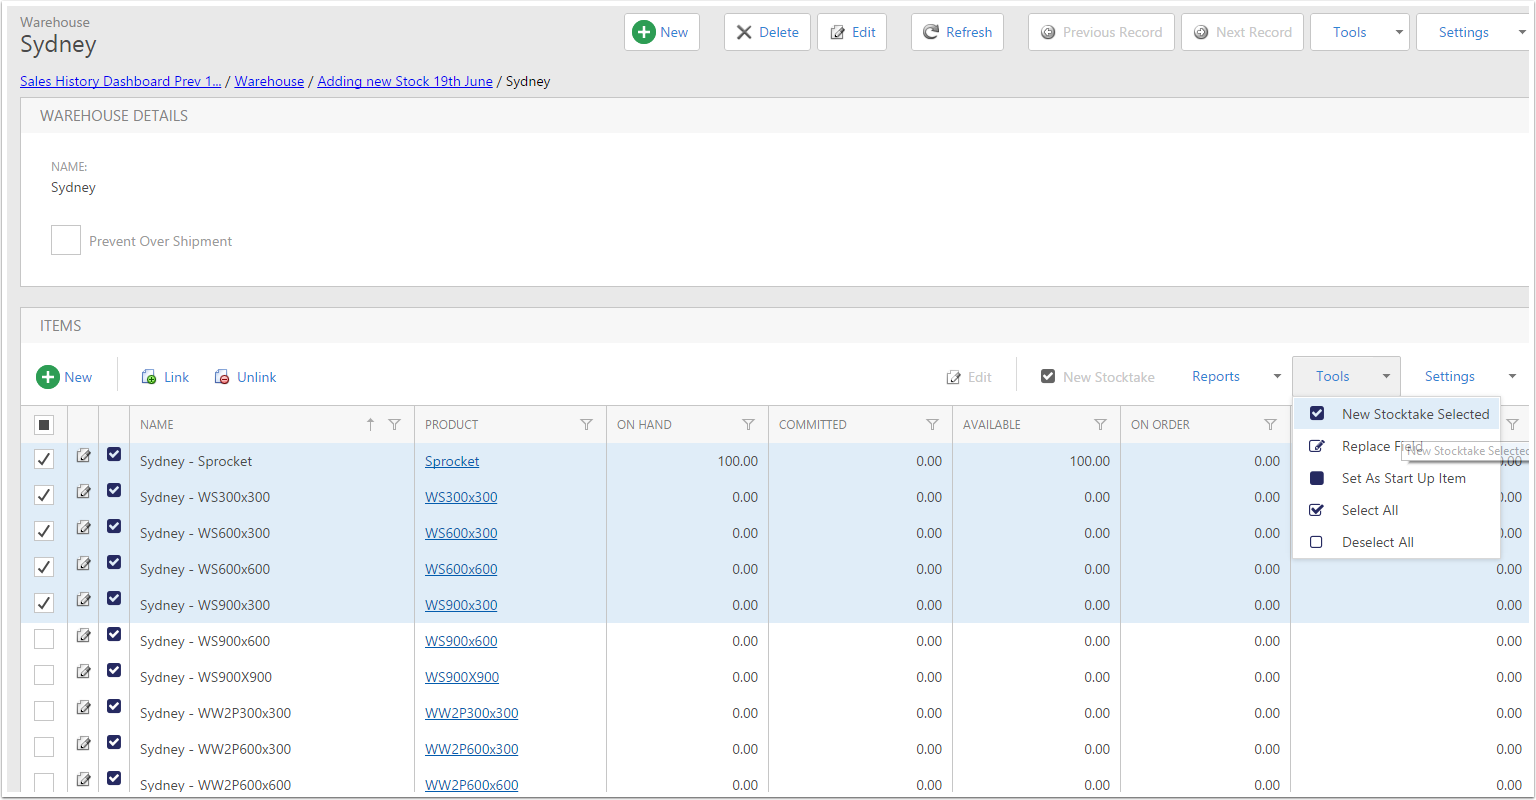
You can goto to warehouse and the start stock taking on the warehouse to manage your warehouse.
- First click on the products that you would like to stock take
- Then Goto Tools - > New Stocktake Selected
Adding the stock into the warehouse
- Add a name of the Stock Take
- Assign the user that has stock take
- You can go baclk to Warehouse Items and add other items to count and adjust.
- Or remove items that you would not need to stock take

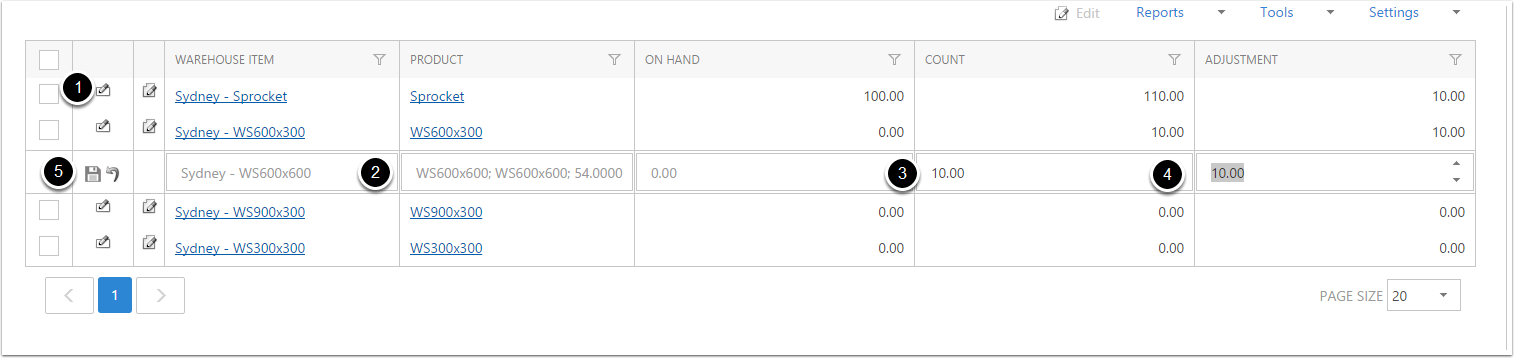
Edit the stock take
- Click on the inline editor
- This will allow you to edit the items .
- Adjust the stock with Count or Adjustment
- Tab across to make the change
- Then save the adjusted amount
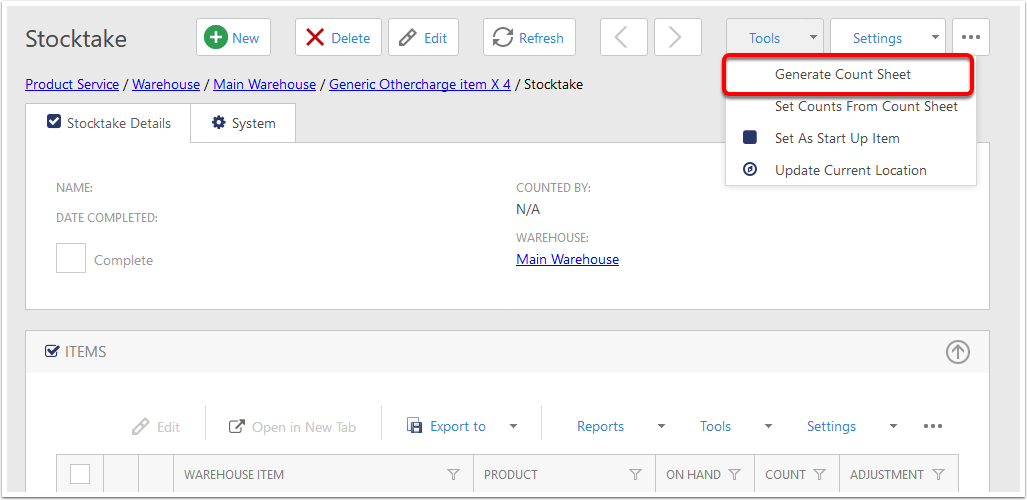
Using Count Sheets [1]
When viewing the Stocktake, in the Tools menu there is an option to create a Count Sheet.
This will create a document that can be edited to set the current counts of all items on the stocktake.
Using Count Sheets [2]
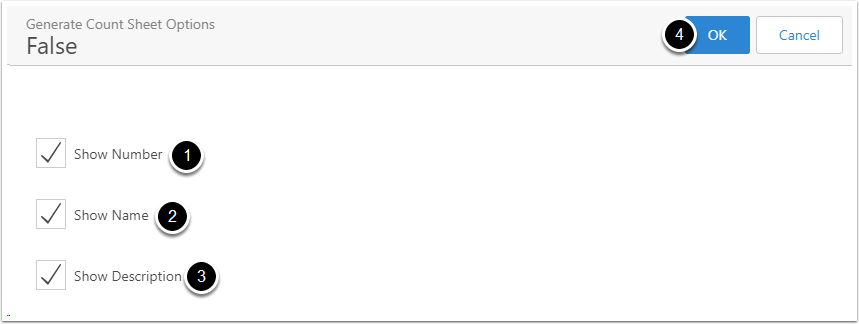
The Generate Count Sheet Options popup will appear:
- Tick Show Number if you want the item sheet to includea column for Item Number
- Tick Show Name if you want the item sheet to include a column for Name
- Tick Show Name if you want the item sheet to include a column for Description
- Click OK
Using Count Sheets [3]
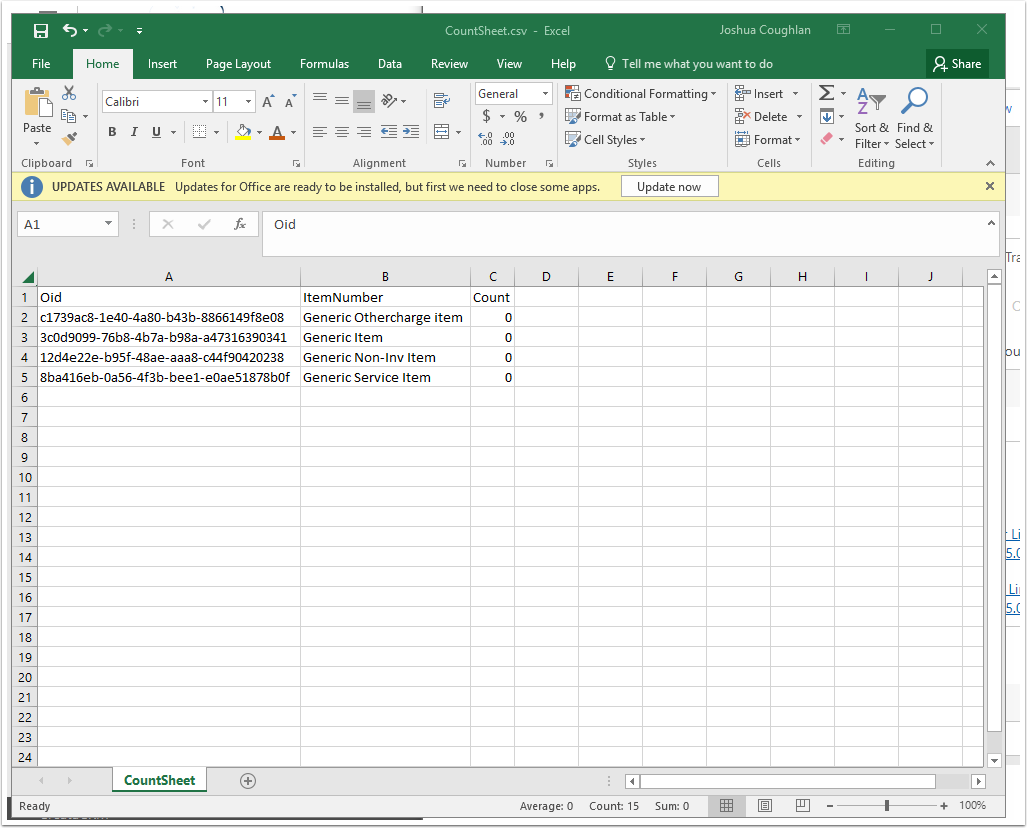
Your browser will download a CountSheet.csv. Opening it, you will see it contains the columns you specified in Using Count Sheets [2]
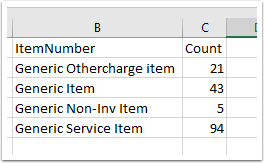
Modify the Counts
Chang the numbers in the Count column to match what they should be. Make sure to save the document after the changes have been made.
Upload the Count Sheet [1]
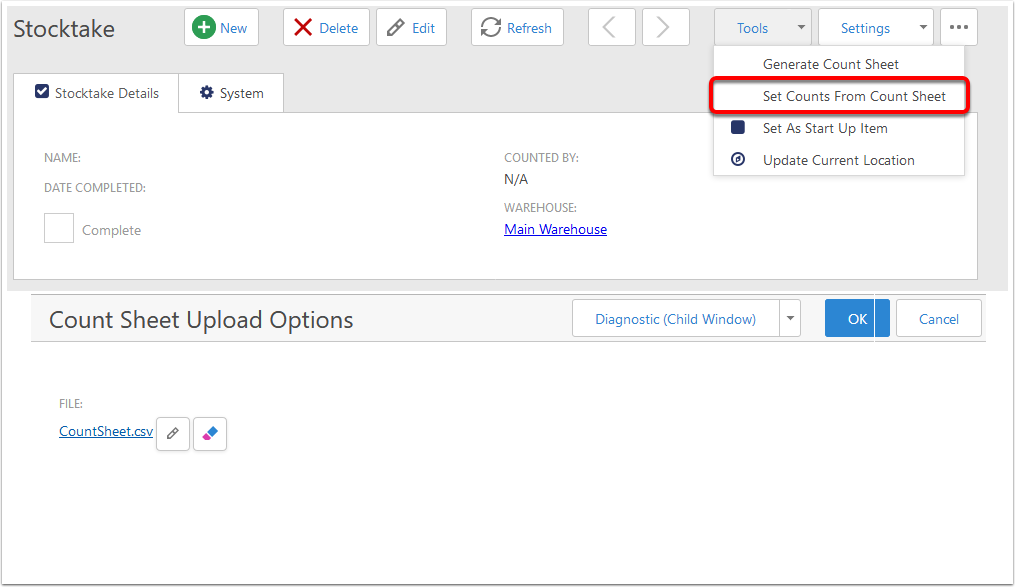
Back in CreataCRM, in the tools menu, choose Set Counts from Count Sheet
Browse to the file that was created, and upload it. Click OK to set the stocktake values.
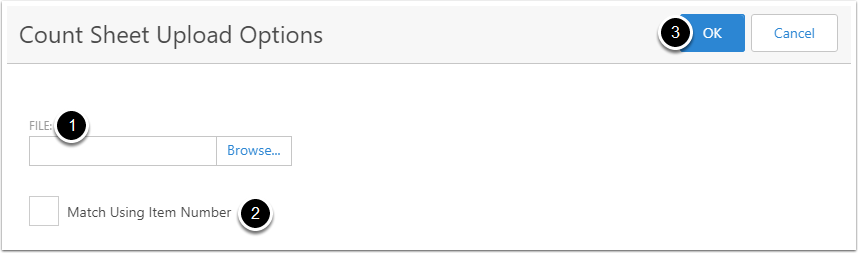
Upload the Count Sheet [2]
The Count Sheet Upload Options popup will appear:
- Select the CSV file you want to upload counts from
- Tick Match Using Item Number if you want to match counts based on the Item Number column, instead of the Oid column
- Click OK
Complete Stocktake
Then complete stocktake by clicking on Complete Entry
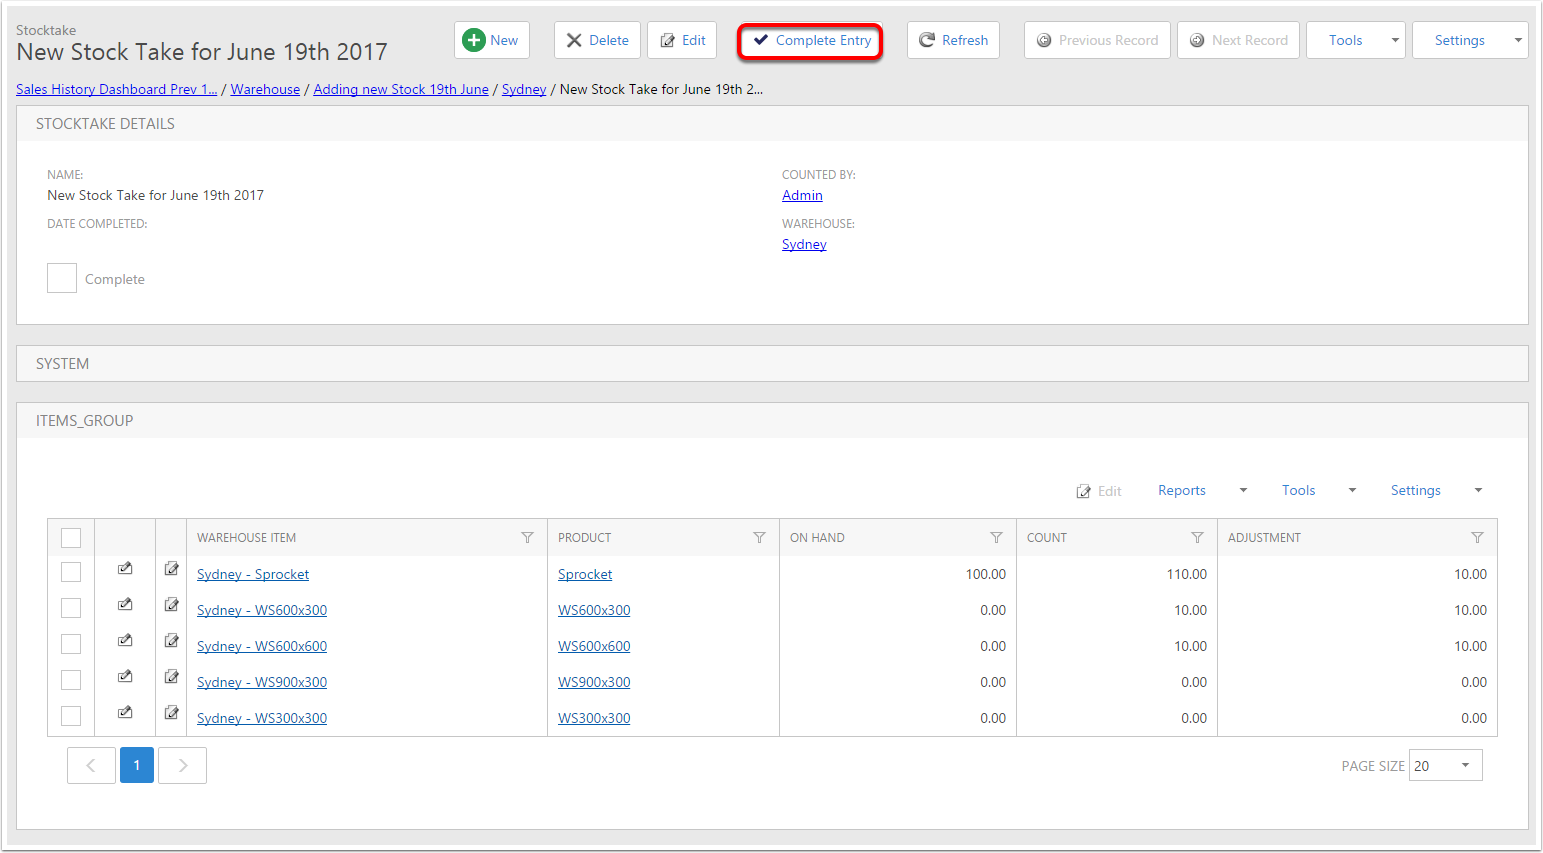
You know can manage your new warehouse
