Using Shipment Runs
Creating a Shipment Run [1]
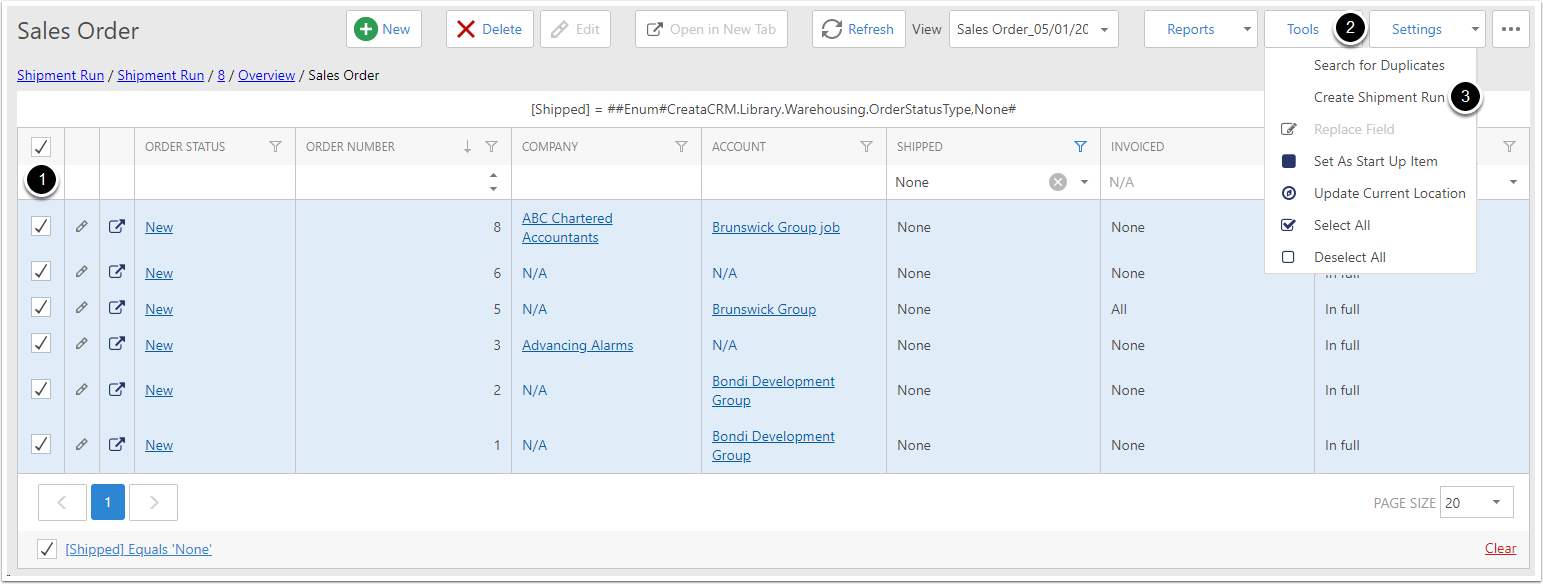
To create a Shipment Run:
- Select the Sales Orders you would like to include in the Shipment Run
- Go to Tools
- Click Create Shipment Run
Note: All Sales Orders that will be in the Shipment Run need to have an Account assigned.
Creating a Shipment Run [2]
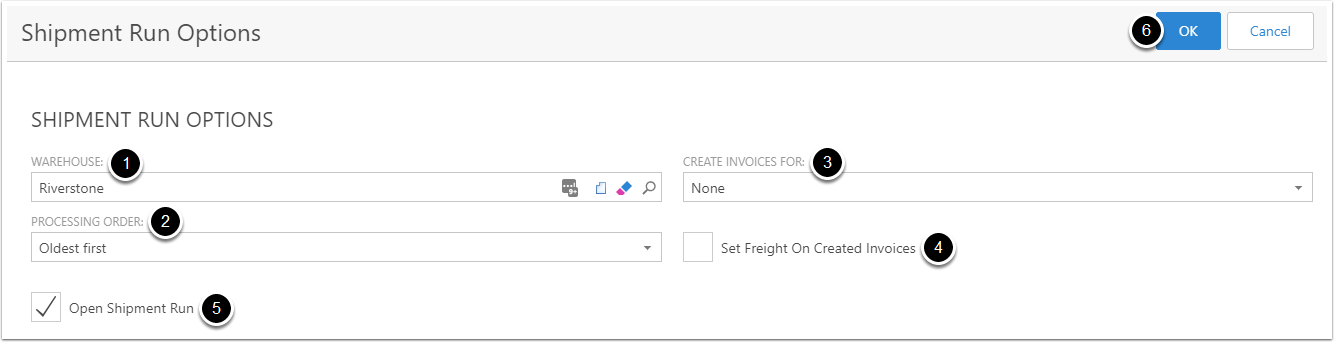
The Shipment Run Options popup will appear:
- Select the Warehouse you would like to run the shipments from
- Set the order in which you would like the Sales Orders processed. In th case of a stock shortages, this will effect which orders are prioritised stock.
- Tick Set Freight On Created Invoices to automatically add the Freight of each Sales Order to the Invoice created for that Sales Order
- Tick Open Shipment Run if you want to see the Shipment Run straight away
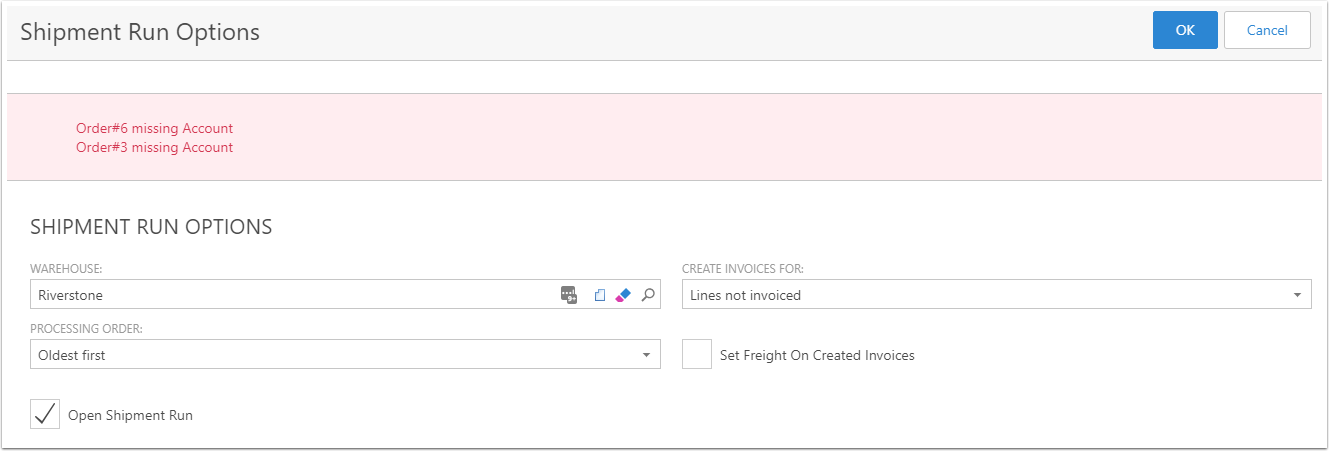
Missing Order Accounts
As mentioned in Creating a Shipment Run [1], all Sales Orders in the Shipment Run require an Account. If the Shipment Run contains orders that have no account attached, you will need to Cancel the Shipment Run, add accounts to those orders, then start again from Creating a Shipment Run [1]
Shipment Run Complete
The Shipment Run has now been completed. If you ticked Open Shipment Run, you will be automatically shown the resulting Shipment Run.
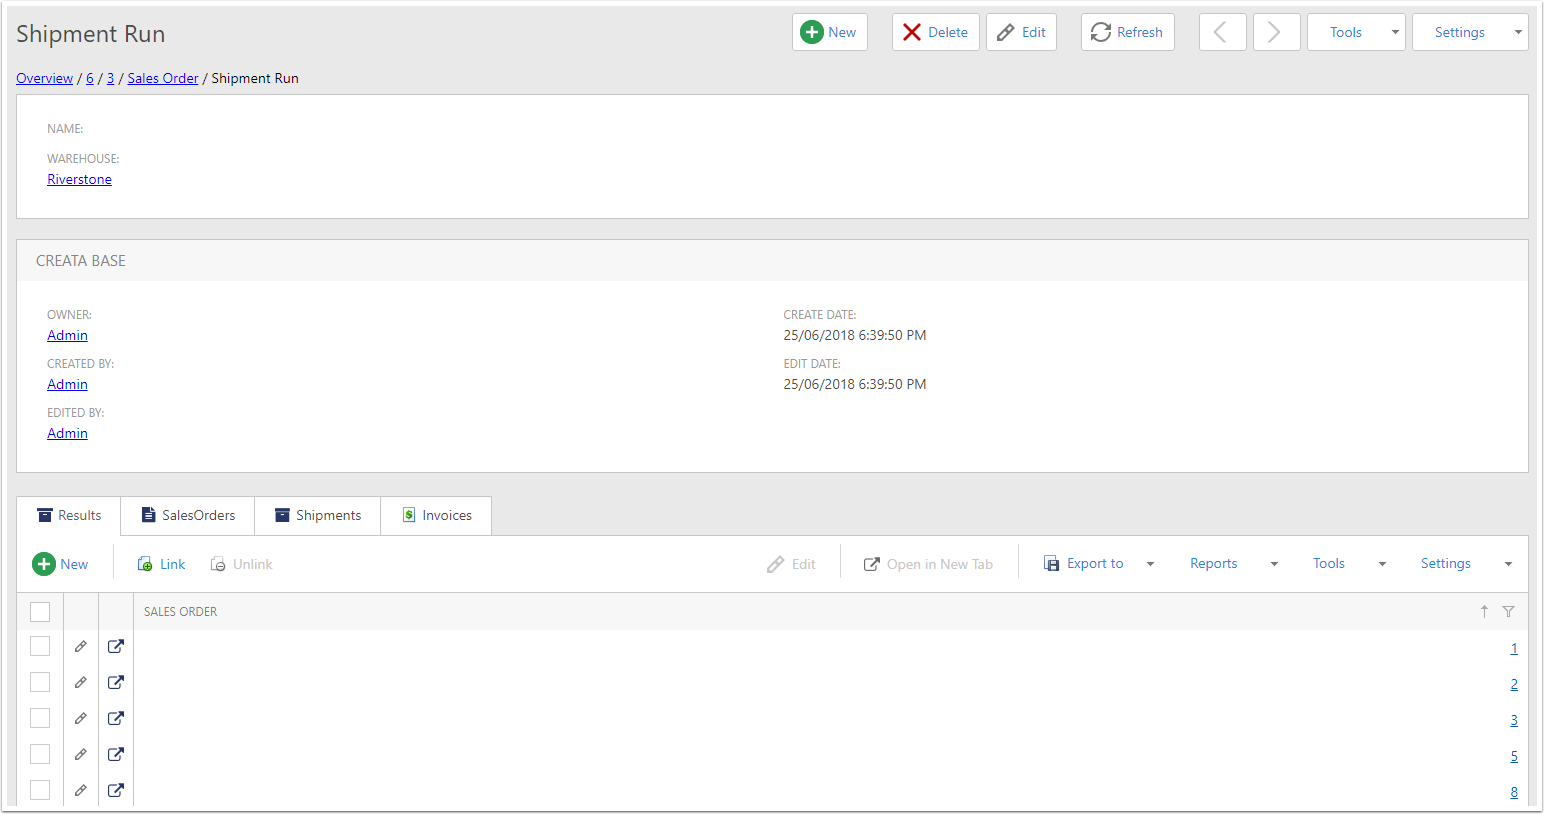
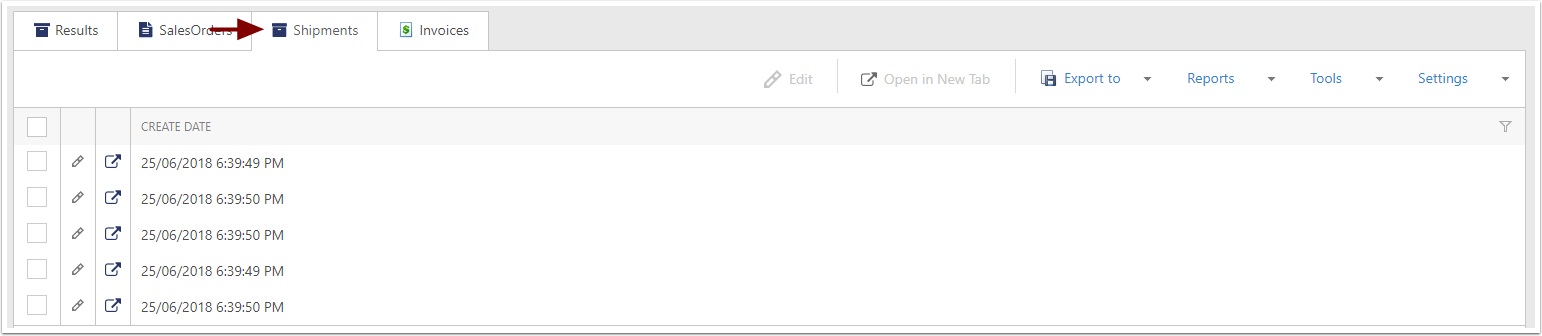
Accessing the Shipments
You can see all the Shipments made by the Shipment Run under the Shipments tab. For printing Delivery Dockets for these Shipments, see Printing Delivery Dockets
Accessing the Invoices
You can see all the Invoices made by the Shipment Run under the Invoices tab. For printing Invoices, see Printing Invoices
